Rephased Crankshaft Rebuild
This post explains how to carry out a crankshaft rebuild. The job here starts with a fully disassembled crankshaft. Any competent workshop should be able to do this for you.
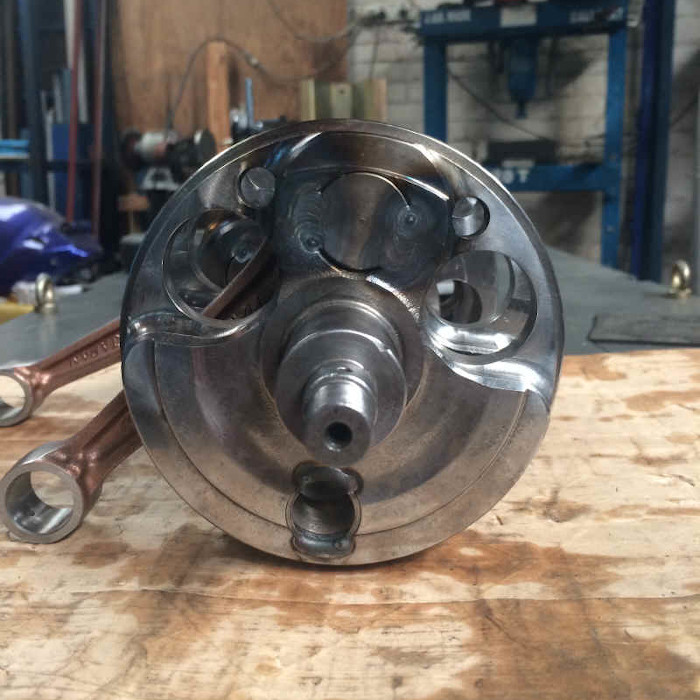
The whole process begins by completely disassembling the crankshaft and cleaning everything. The crank pictured below will be a 270° rephase which explains the splined shaft and additional internally splined crank flywheel. As you can see the flywheel on the right has been modified by machining the bearing mount down to the width of the bearing plus 1mm. The flywheel on the left is unmodified and still has the cut-out for the cam chain sprocket to key into. All new bearings and connecting rods would be used in the assembly as required.
Once all parts are cleaned and their condition checked they can be pressed together ensuring you have the correct clearances on the big end of the conrod.
Below are the tolerances required by Yamaha for the XS650 crankshaft.
A picture of the modified crankshaft we are using in our club racer which has been lightened and polished and assembled and welded by Daryl Hutcheon.
This procedure is followed for all crank rebuilds except welding is not always required on a stock rebuild, it is however highly recommended for all rephased crankshafts.


